Best Windows 11 Settings for Low-End PC & Laptop
Is your Windows 11 PC lagging, stuttering, or running slow? This complete 2026 guide covers every proven manual optimization — no paid tools required. Fix lag, boost FPS, and make Windows feel fast again.
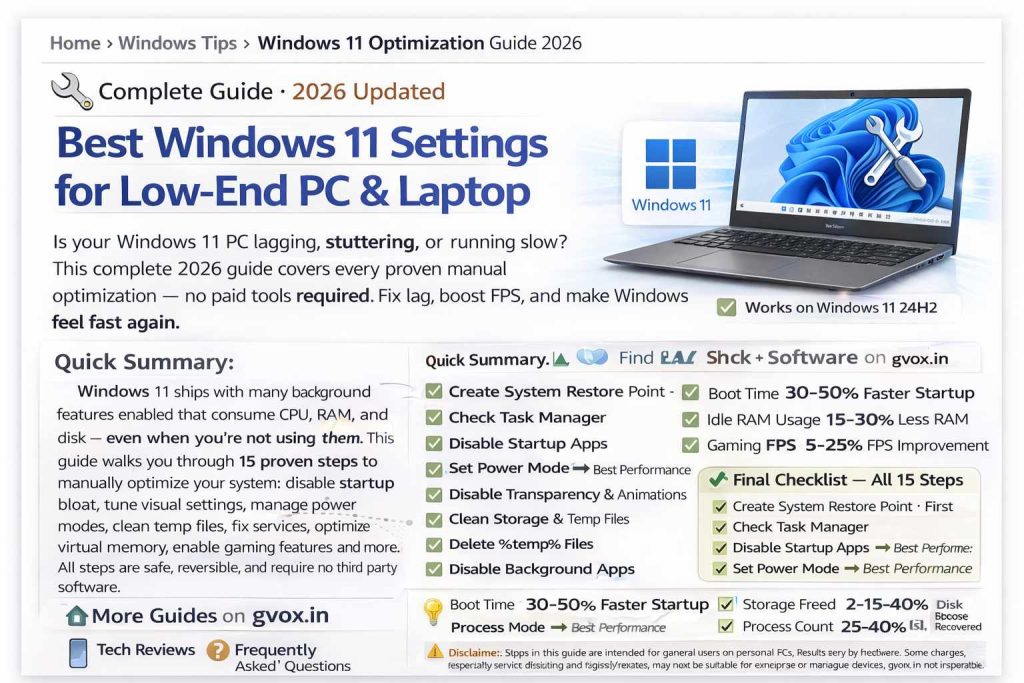
Quick Summary: Windows 11 ships with many background features enabled that consume CPU, RAM, and disk — even when you’re not using them. This guide walks you through 15 proven steps to manually optimize your system: disable startup bloat, tune visual settings, manage power modes, clean temp files, fix services, optimize virtual memory, enable gaming features, and more. All steps are safe, reversible, and require no third-party software.
📋 Table of Contents
Create a System Restore Point First
Before making any changes, always create a restore point. If anything goes wrong, you can revert your system to this exact state in minutes.
Check Task Manager for High CPU & RAM Usage
Before optimizing anything, identify what’s eating your resources. Open Task Manager and look at which processes are using the most CPU, RAM, and disk.
- CPU usage consistently above 80–90% even at idle = problem
- RAM usage at 85%+ with nothing open = too many background processes
- Disk usage stuck at 100% = possible malware, antivirus scan, or Windows Update running
- Right-click on any heavy process → End Task to temporarily kill it
Common culprits: Microsoft Edge background processes, OneDrive sync, Windows Update, antivirus scans, and search indexing. We’ll disable or manage these in later steps.
Disable Unnecessary Startup Apps
Every app that runs on startup loads into memory before you even touch the keyboard. Disabling unnecessary ones speeds up boot time significantly and frees RAM from the first second.
OR
Safe to Disable at Startup:
- Microsoft Edge (you can open it manually)
- OneDrive (sync on demand, not at boot)
- Microsoft Teams (open when needed)
- Spotify (launch it yourself)
- Discord (open manually when gaming)
- Adobe Creative Cloud (loads entire suite in background)
- Epic Games Launcher (unless you need it ready instantly)
- Any OEM utilities you don’t actively use
Keep These Enabled:
- Your audio driver software (e.g., Realtek, ASUS Sonic Studio)
- VPN clients if you need them immediately
- Antivirus software
- Stream Deck, audio mixers, and hardware utilities you rely on
Change Power Mode to Best Performance
By default, Windows 11 runs in “Balanced” mode — it throttles your CPU and GPU to save power. Switching to Best Performance allows the hardware to run at full speed.
✅ Best Performance
- Full CPU and GPU clock speeds
- Maximum responsiveness
- Best for desktop PCs
- Ideal for gaming laptops with good cooling
⚠️ Balanced (Default)
- CPU throttles to save power
- Slower app launch times
- Lower FPS in games
- Better for battery-powered laptops
Advanced: Add the Ultimate Performance Plan
For maximum CPU performance on desktop PCs, add the hidden “Ultimate Performance” power plan via Command Prompt:
Then go to Settings → System → Power & Battery → Additional power settings and select “Ultimate Performance.”
Disable Transparency Effects & Animations
Windows 11’s frosted glass transparency effects and smooth animations look nice but consume real GPU and CPU resources — especially painful on low-end PCs with integrated graphics.
Disable Transparency Effects:
Disable Animation Effects:
Advanced Visual Performance Tuning:
Clean Storage & Enable/Configure Storage Sense
A full drive is a slow drive. Windows 11’s Storage Sense and Cleanup Recommendations tools remove junk automatically. However, for low-end PCs, it’s better to run cleanup manually to avoid background CPU usage from automatic scans.
Method 1 — Storage Sense (Automatic):
This automatically deletes temp files and clears the Recycle Bin on a schedule. Set schedule to “Daily” and configure Recycle Bin to clear files older than 30 days.
Method 2 — Manual Cleanup Recommendations:
- Check “Recycle Bin” to delete items older than your chosen time
- Check “Temporary Files” — Windows Update cache, log files, thumbnails
- Uncheck “Downloads” if you have important files there
- Click “Remove Files” → Continue
Method 3 — Uninstall Bloatware:
Scroll through and uninstall apps you never use. Windows 11 ships with quite a bit of bloatware including Copilot, Feedback Hub, Mail & Calendar, Maps, Microsoft Solitaire, Clipchamp, News, and more. Right-click → Uninstall each one you don’t need.
Manually Delete Temporary Files
Windows accumulates gigabytes of temporary files over time. These don’t get auto-cleaned unless you explicitly run a cleanup. Here’s the fastest manual method:
Clear User Temp Folder:
Skip any files that can’t be deleted (they’re in use by running apps). Click “Skip” to skip those.
Clear System Temp Folder:
Flush DNS Cache:
This clears the DNS resolver cache and can improve network connection responsiveness.
Disable Background App Access
Many apps continue running in the background — checking for notifications, syncing data, and consuming resources — even when you’ve closed them. Disabling this prevents unnecessary resource drain.
For Windows 11 Pro Users (Group Policy):
This denies all apps background access globally in one setting.
For All Users (Settings Method):
Toggle off “Let apps run in the background” or configure per-app permissions.
Also Check the System Tray:
Click the arrow (^) in the bottom-right corner to see hidden system tray icons. Many apps silently run here even when “closed.” Right-click any you don’t need and Exit or Close them.
Optimize Virtual Memory (Page File)
Virtual memory (the page file) acts as overflow RAM on your disk. Setting a custom size prevents Windows from dynamically resizing it — which can cause stutters and freezes on low-RAM systems.
Quick Reference Table:
| Physical RAM | Initial Size (MB) | Maximum Size (MB) |
|---|---|---|
| 4 GB | 6,144 | 12,288 |
| 8 GB | 12,288 | 24,576 |
| 16 GB | 24,576 | 49,152 |
Disable Unnecessary Windows Services
Windows runs dozens of background services even when you don’t need them. Disabling unused services frees up CPU threads and RAM constantly.
For each service: Right-click → Properties → Startup Type: Disabled → Stop → Apply → OK.
Safe to Disable (if not using these features):
| Service Name | What It Does | Risk |
|---|---|---|
| Windows Search | File indexing for search bar | Safe |
| Connected User Experiences & Telemetry | Sends usage data to Microsoft | Safe |
| BitLocker Drive Encryption | Disk encryption | Safe if no encryption |
| Background Intelligent Transfer | Windows Update downloads | Optional |
| Hyper-V Services | Virtualization platform | Safe if not using VMs |
| Print Spooler | Printer management | Safe if no printer |
| Fax | Fax functionality | Safe |
| Windows Error Reporting | Sends crash data to Microsoft | Safe |
Disable Fast Startup:
Fast Startup sounds good but prevents a full shutdown, causing gradual performance degradation and occasional driver issues. Disable it for a cleaner restart cycle.
Disable Hibernation (saves disk space):
This deletes the hiberfil.sys file — which can be 4–16GB depending on your RAM — and frees significant drive space.
Disable Unnecessary Privacy Permissions
Windows 11 enables many advertising and telemetry features by default that run in the background. Disabling these improves both performance and privacy.
Under Windows Permissions — Disable All:
- General: Turn off all advertising ID, tailored experiences, and suggested content options
- Speech: Disable unless using voice typing or Cortana
- Inking & Typing Personalization: Disable
- Diagnostics & Feedback: Set to Basic, disable all optional data sharing
- Activity History: Disable (if present — removed in some 24H2 builds)
Under App Permissions — Disable What You Don’t Use:
- Location: Disable if using a desktop PC (no GPS needed)
- Camera: Disable if your webcam isn’t in regular use
- Microphone: Disable if not on calls
- Notifications: Disable to reduce CPU/RAM usage from notification polling
- Contacts, Email, Messaging, Phone Calls: Disable — most users never need these on Windows
- Radios (Bluetooth): Disable if not using Bluetooth
Disable Core Isolation (Memory Integrity):
Gaming Optimizations
Enable Game Mode:
Game Mode tells Windows to prioritize your foreground game over background processes — giving the game more CPU and GPU resources for better FPS stability.
Disable Xbox Game Bar:
Game Bar is an overlay that runs in the background even when not in use. Disabling it removes an unnecessary performance drain. Use your GPU’s recording software instead if needed.
Enable Hardware Accelerated GPU Scheduling (HAGS):
HAGS allows the GPU to schedule its own rendering queue instead of relying on the CPU. This reduces input latency and improves FPS consistency, especially in CPU-bound games like Fortnite and Counter-Strike.
Enable Optimizations for Windowed Games:
Allows windowed full-screen mode to maintain similar input latency to exclusive full-screen in DX10/DX11 games.
Set Game/App to High Performance GPU:
If you have both integrated and dedicated graphics, this forces your specific game to always use the powerful dedicated GPU instead of accidentally using the weak integrated one.
Maximize Your Display Refresh Rate:
Many monitors support 75Hz, 120Hz, or 144Hz but Windows sets them to 60Hz by default. Selecting your monitor’s max refresh rate delivers visibly smoother gameplay and cursor movement.
Optimize & Defrag Drives:
For SSDs this runs a TRIM command (healthy maintenance). For HDDs, this defragments files for faster load times. Schedule this weekly for best results.
Disable Unused Windows Features
Windows 11 ships with optional features that run as background services even if you don’t use them. Disabling unused ones frees system resources.
Safe to Uncheck (if not using):
- Hyper-V — Windows virtualization platform. Disable if not running virtual machines. Can improve gaming performance by removing virtualization overhead.
- Virtual Machine Platform — Related to WSL2 and Android apps. Disable if not using Linux subsystem or Android apps.
- Windows Subsystem for Linux (WSL) — Disable if not doing Linux development.
- Windows Sandbox — Isolated testing environment. Disable if unused.
- Remote Desktop Services — Disable if you never remotely connect to this PC.
Also Disable Windows Search Indexing Service:
Search indexing continuously crawls your files to build a search database. On low-end PCs this causes constant background disk and CPU activity. You can still search files without indexing — it’ll just be slightly slower for large file searches.
Windows 11 Multitasking Hidden Features
Windows 11 has powerful multitasking tools that most users never discover. These don’t improve performance but dramatically improve productivity — saving you 30–60 minutes per day.
Snap Windows — Enable & Use:
Hover over the maximize button (□) of any window to see layout options. Choose a grid layout to automatically arrange two or four windows side by side. Windows remembers these “Snap Groups” — click any app icon in the taskbar to restore the whole group at once.
Title Bar Shake to Minimize:
Grab any window title bar and shake it — all other open windows minimize instantly. Shake it again to restore them. Perfect for quickly clearing your screen.
Alt+Tab with Browser Tabs:
Alt+Tab now shows individual browser tabs alongside apps. Instead of switching to your browser and hunting for a tab, you can jump directly to any open tab from Alt+Tab.
Virtual Desktops:
Create separate desktops for different work types — e.g., Desktop 1 for Office work, Desktop 2 for personal browsing, Desktop 3 for gaming. Set taskbar to show only the current desktop’s apps for a clean, distraction-free workspace.
MSConfig for Service Cleanup:
This is one of the most effective cleanups for PCs with a lot of installed software. If the lag disappears after restart, one of those third-party services was the culprit.
Update Windows & Drivers
Outdated drivers are one of the most common causes of stuttering, crashes, and poor performance — especially GPU drivers for gaming.
Update Windows:
Update Optional Drivers:
Update GPU Drivers:
- Nvidia: Open Nvidia App or GeForce Experience → Drivers → Check for updates
- AMD: Open AMD Software → Drivers & Software → Check for updates
- Intel Arc: Open Intel Arc Control → Drivers → Update
Windows Update Settings to Disable:
- Disable “Receive updates for other Microsoft products” if not needed
- Disable “Download updates over metered connections” if on limited data
- Delivery Optimization → “Allow downloads from other PCs” → OFF — prevents your PC from uploading Windows Update data to strangers’ computers
What to Expect After Optimization
After applying all these steps and restarting your PC, here’s what you can realistically expect:
✅ Final Checklist — All 15 Steps
☐ Create System Restore Point · ☐ Check Task Manager · ☐ Disable Startup Apps · ☐ Set Power Mode → Best Performance · ☐ Disable Transparency & Animations · ☐ Clean Storage & Temp Files · ☐ Delete %temp% Files · ☐ Disable Background Apps · ☐ Optimize Virtual Memory · ☐ Disable Unused Services · ☐ Turn off Privacy Permissions · ☐ Enable Game Mode & HAGS · ☐ Disable Unused Windows Features · ☐ Use Multitasking Features · ☐ Update Windows & GPU Drivers